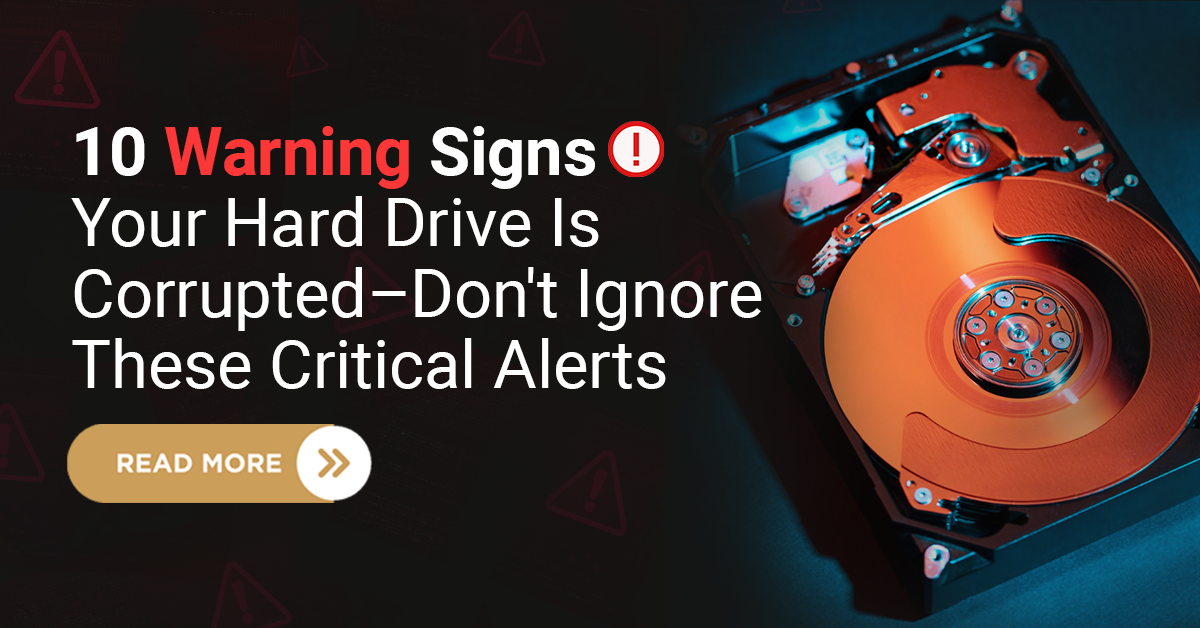
A NAS (Network-Attached Storage) drive is a fantastic way to store and manage data, but even the most spacious NAS setup can eventually run out of storage. Whether you use it for backups, media storage, or business files, running out of space can cause major disruptions.
So, what do you do when your NAS storage is full? There are several ways to free up space, optimize storage, and even expand your NAS without losing important data. There are also plenty of ways to clear up space and expand your data more efficiently.
In this guide, we’ll explore 7 steps to help you regain control of your NAS storage and keep it running efficiently.
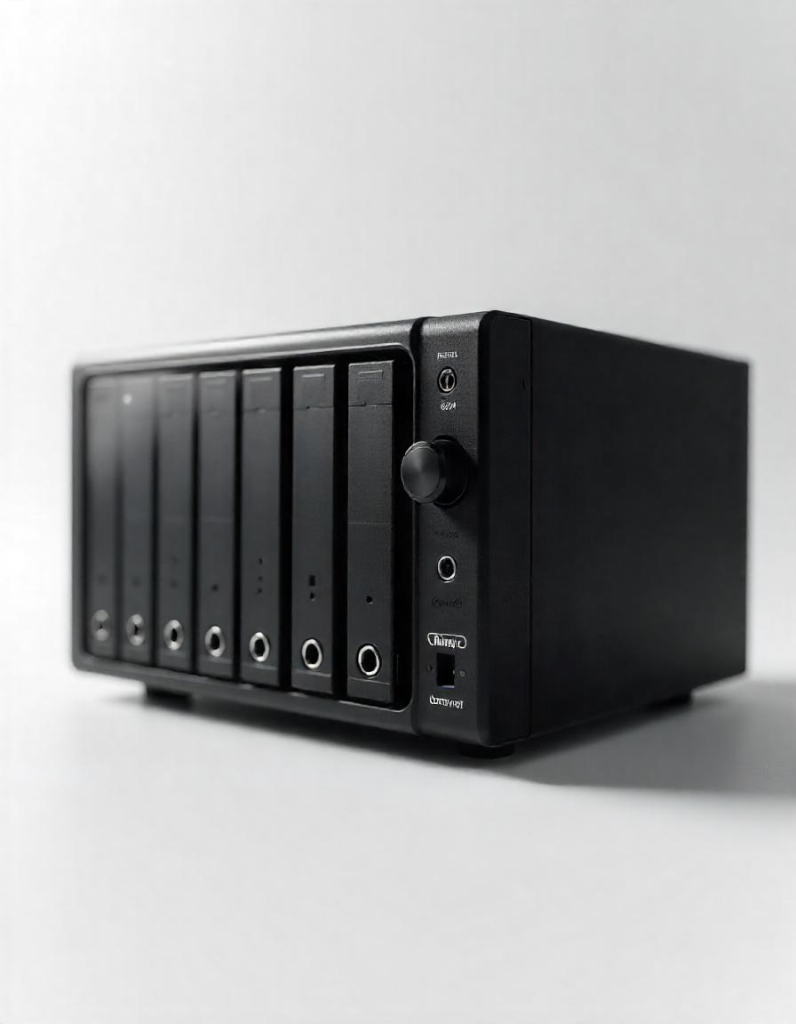
NAS Drive Storage
Step 1: Identify What’s Taking Up Space
The first step in freeing up NAS storage is identifying large files that you no longer need. Before you start deleting things randomly, you need to know what’s actually filling up your NAS. Most modern NAS systems (like Synology, QNAP, or Western Digital) have built-in tools that let you analyze storage usage.
How to check disk usage:
Synology DSM: Go to Storage Manager → Volume → Usage Details.
QNAP QTS: Open Storage & Snapshots Manager and check your storage pools.
Other brands: Look for storage analysis tools in the NAS software dashboard.
Look for large files, old backups, or media collections that might be taking up space.
How to Find Large Files:
Use built-in NAS tools (such as QNAP’s Storage & Snapshots Manager or Synology’s Storage Analyzer) to scan for large files.
Sort folders by size and identify files that are no longer needed.
Look for old videos, duplicate backups, and temporary installation files that can be removed.
Step 2: Delete or Archive Unnecessary Files
Once you know what’s taking up space, it’s time for a digital spring cleaning. Here are some ways to clear space effectively:
Remove Unnecessary Files
Delete duplicate files. Tools like Duplicate File Finder (on Synology) or third-party apps can help.
Get rid of outdated backups, especially if they’re old versions of the same data.
If you’ve got a NAS full of movies, music, or old projects, ask yourself: Do I still need this?
Move Files to External Storage
If you don’t want to delete important files, consider moving them to an external hard drive.
Cloud storage is another option—services like Google Drive or Dropbox can store archives you don’t frequently access.
Step 3: Expand Your Storage
If you’ve cleaned things up but still need more space, it’s time to upgrade.
Option 1: Add More Drives (If Possible)
If your NAS has empty bays, just insert another drive.
Make sure to check compatibility—some NAS models work best with certain hard drives (e.g., WD Red or Seagate IronWolf).
If using RAID, remember that different RAID configurations have different space and redundancy trade-offs.
Option 2: Upgrade to Larger Drives
If all your bays are full, consider swapping out smaller drives for larger ones.
Many NAS systems support RAID expansion, allowing you to replace drives one at a time without losing data.
Check your NAS manufacturer’s instructions for upgrading RAID volumes safely.
Option 3: Connect an Expansion Unit
Some NAS models support expansion units—basically, external enclosures that connect to your NAS and increase capacity.
Examples: Synology DX517, QNAP TR-004.
Step 4: Optimize Storage with Compression & Deduplication
If adding drives isn’t an option, you can make better use of the space you already have.
Option 1: Enable Data Compression
Some NAS systems offer on-the-fly compression, which reduces file sizes without losing quality.
Look for options in your NAS settings under storage optimization.
Works best for text-heavy files (e.g., logs, documents, and databases).
Option 2: Use Deduplication (If Supported)
Some enterprise-grade NAS systems support deduplication, which removes redundant copies of files and saves space.
Available on some higher-end Synology and QNAP models.
Great for businesses with repetitive file storage.
Did you know?– Using data deduplication can recover up to 30% of NAS space by eliminating redundant copies of files.
Step 5: Manage Backups Smarter
Backups are important, but they can also take up tons of space if not managed properly. Here’s how to keep them under control:
Adjust Backup Retention Policies
If your NAS is set to keep every version of every file forever, it’s going to fill up fast.
Change your backup settings to only keep recent versions (e.g., last 30 days).
Use Incremental Backups Instead of Full Backups
Instead of backing up everything repeatedly, use incremental backups, which only save changes made since the last backup.
Most NAS backup solutions (e.g., Synology Hyper Backup, QNAP Hybrid Backup Sync) support this.
Step 6: Offload Data to the Cloud
If you need long-term storage but don’t want to keep adding physical drives, cloud storage can be a lifesaver.
Hybrid Cloud Storage
Services like Synology C2, QNAP Cloud, AWS S3, and Backblaze B2 integrate directly with your NAS.
Store older or less frequently accessed data in the cloud to free up local space.
Set Up Cloud Sync
You can configure two-way sync (keeping local and cloud files identical) or one-way backup (only sending data to the cloud).
Good for disaster recovery, ensuring you have copies of important files elsewhere.
Step 7: Set Up Storage Alerts for the Future
Now that you’ve cleared space and optimized storage, prevent this from happening again!
Enable storage alerts in your NAS settings to get notified when space is running low.
Regularly review storage usage (e.g., set a monthly reminder to check disk usage).
Automate clean-up processes if your NAS supports it (e.g., auto-delete temporary files after 30 days).
Amazing Fact: Some NAS systems support AI-powered storage management, automatically organizing files and detecting duplicates to optimize space.
Conclusion
A full NAS doesn’t mean the end of the world—it just means it’s time to rethink your storage strategy. By implementing the steps mentioned above, you can effectively manage your NAS system’s storage. Managing NAS smartly requires proper organization, effective monitoring, and strategic upgrades. With the right approach, you won’t lose important data, and you can ensure your NAS remains efficient and reliable for years to come.
Even if the steps mentioned in this article do not resolve your issue, Techchef can be the right choice! With our services, we strive to provide top-notch support tailored to your specific NAS needs. Whether you require advanced troubleshooting, storage expansion solutions, or customized backup strategies, our team is here to help. Contact us at 1800-313-1737 to book an appointment today.
A well-maintained NAS not only improves performance but also provides peace of mind, knowing your data is stored safely and effectively.
FAQs
1. Why is my NAS drive filling up so quickly?
Your NAS can fill up due to large media files, old backups, duplicate files, system logs, and inefficient storage management.
2. Can I expand my NAS storage without losing data?
Yes, by upgrading to larger hard drives, adding more drives, or using RAID expansion. Always follow your NAS manufacturer’s guidelines.
3. Is it possible to move files from NAS to the cloud?
Yes, you can sync NAS data with Google Drive, Dropbox, OneDrive, or Amazon S3 to free up local storage.